Copy the flow, then test your save
The Shaker behavior comes from the official wiki. External builds and screenshots add visual context, but your terrain, input rate and Early Access version still decide whether the line holds.
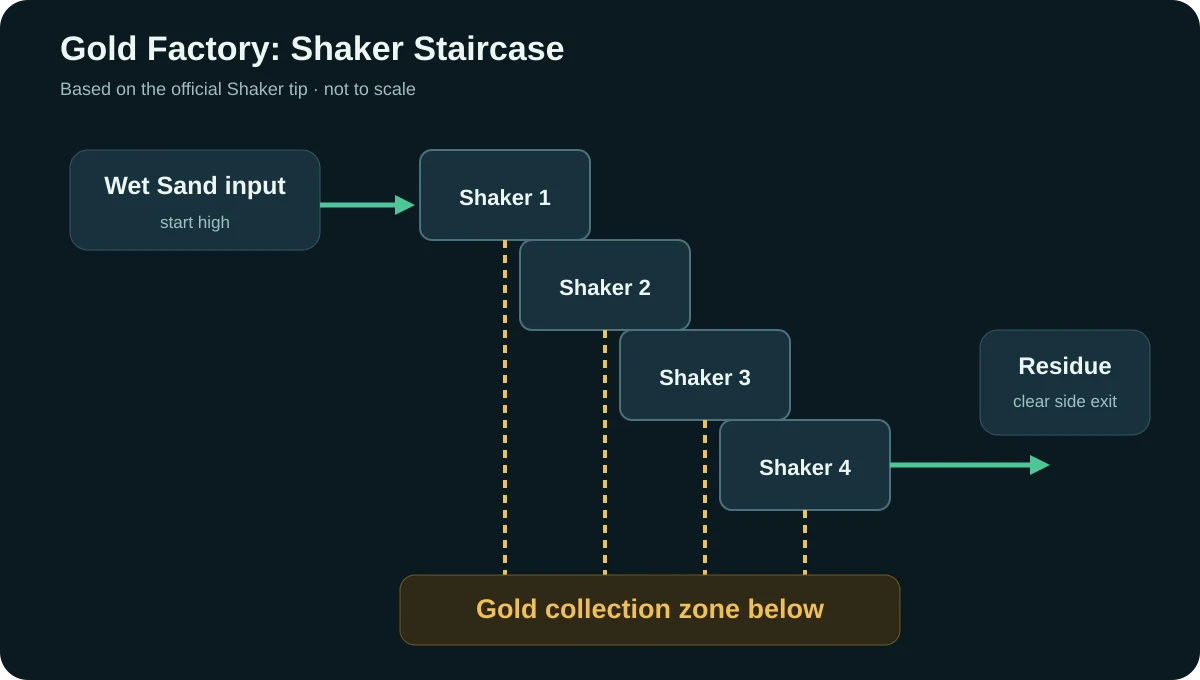
Layout concept: feed Wet Sand from the high side of a descending Shaker staircase, keep the area below open for Gold, and give Residue a clear path off the low side. Use this as structure guidance, not as a guaranteed throughput or optimality claim.
The Shaker behavior comes from the official wiki. External builds and screenshots add visual context, but your terrain, input rate and Early Access version still decide whether the line holds.
| Blueprint name | Shaker / Gold Production Blueprint |
| Current game version | Early Access 0.5.6 source context |
| Last tested date | Not site-tested as of 2026-09-12 |
| Inputs | Wet Sand |
| Outputs | Gold below the Shaker, Residue on top and off the side |
| Required machines | Shaker, plus your existing Wet Sand supply and Gold collection route |
| Required space | A descending Shaker line with open space below and a clear Residue exit |
No import string is published here yet. The layout needs a recorded export, a clean re-import check, a tested game version, and a dated run before a string is safe to label as tested.
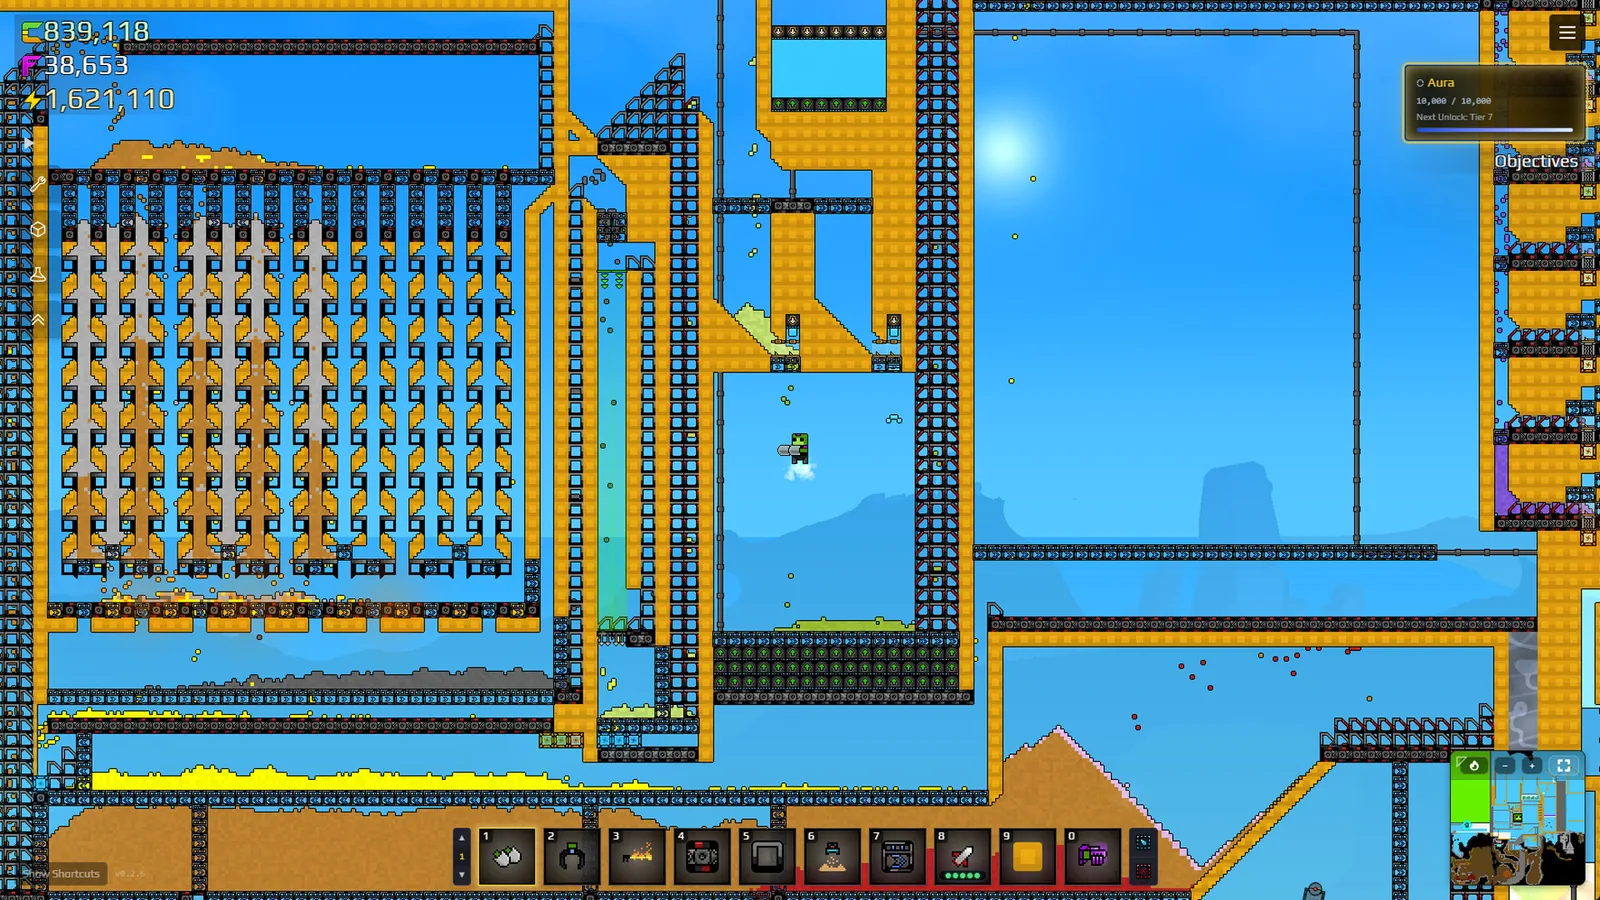
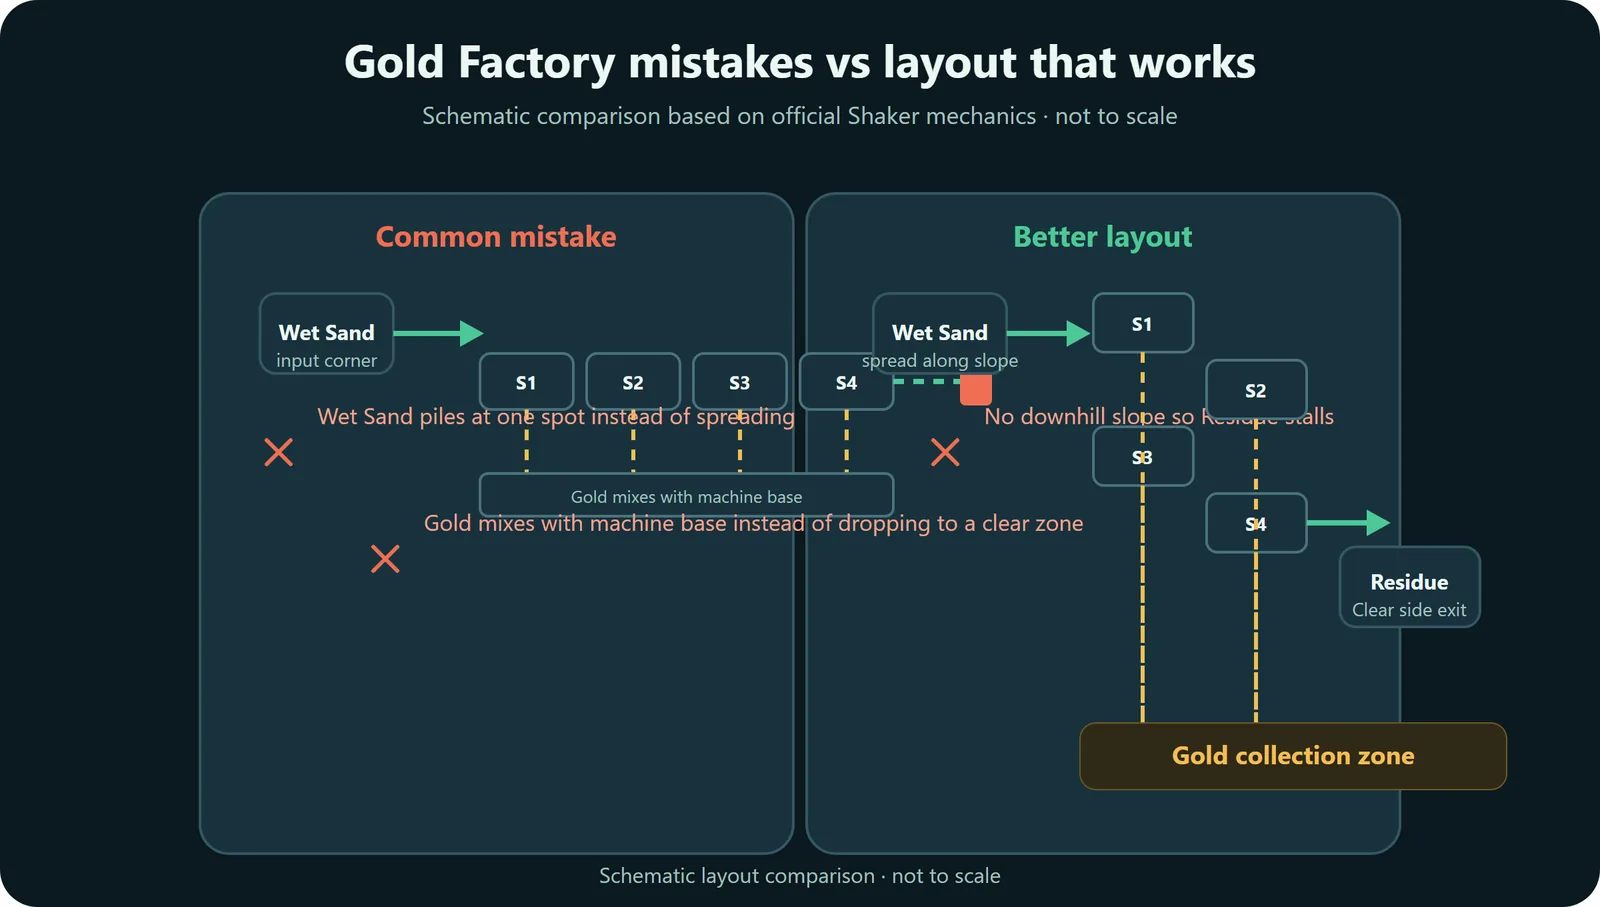
Place the Shakers as descending steps before connecting a large input. You want to see the material path clearly.
Gold passes through the Shaker; do not place an unrelated solid-processing line directly under the output.
Start with a controlled feed. Watch whether fresh Wet Sand spreads across the Shakers or immediately buries one location.
If Residue has nowhere to go, adding more input only makes the backup harder to diagnose.
The official Shaker page notes that Shakers move Residue very slowly and recommends a downward diagonal layout. Wet Sand is denser than Residue, so incoming Wet Sand can settle on the machines while Residue is displaced toward the output.
Gold passes through the Shaker body and falls below the machine. That loose Gold only counts as spendable currency once it reaches a Collector block, so route the drop into a Collector instead of leaving it loose in storage.
Reduce the feed and confirm the staircase slopes away from the input. More input is not a fix for poor distribution.
Clear the exit and reduce incoming Wet Sand until the top surface becomes readable again.
Non-Gold solids can become trapped in a Shaker body and may need manual removal.
Shaker Gold is probabilistic at 25% per Wet Sand pixel. Check the input and machine behavior before assuming a fault from a short sample.
The staircase concept is stable, but it only stays readable while the input, the Gold drop zone and the Residue exit each keep their own space. When the layout runs a long stretch without any of the failures above, a good point to scale is adding one more Shaker step further downhill rather than widening the top of the line. Before expanding, use the Production Calculator to plan the verified ratio you want to scale.
The blueprint needs vertical clearance under each Shaker for Gold, readable access to the top surface where Residue gathers, and a downhill or side path that keeps Residue from drifting back over the Wet Sand feed. On cramped terrain, shorten the staircase before you remove the Gold drop space.
Scale only after the basic line can run without burying the top step. Add Shaker steps on the low side, widen collection below, and keep the Residue exit visible; do not use unverified output rates as the reason for machine count.
The safest structure answer is to feed Wet Sand into a descending Shaker line, leave space below for Gold, and keep Residue moving away from the machine body. Start with readable flow before trying to scale.
Most inconsistencies come from bad Wet Sand input, blocked Residue, or no clear Gold drop space. Short output samples can also mislead because Shaker Gold output is probabilistic.
| Question | Answer | Why it matters |
|---|---|---|
| What should you copy? | The Wet Sand input side, descending Shaker path, open Gold space and separate Residue exit. | The material flow is the useful part; exact spacing can change with your terrain. |
| What should you test yourself? | Input rate, runtime, output rate and whether Residue stays clear. | Those numbers depend on your save and current Early Access balance. |
| What should you not assume? | That this schematic is the fastest possible machine count or a measured benchmark. | This schematic covers structure and failure checks, not guaranteed throughput. |
| When is it most useful? | When Wet Sand already works and the Gold line needs a readable machine layout. | If the input loop is broken, fix Water and Wet Sand before copying a larger shape. |
| Reference | How it's used | Scope |
|---|---|---|
| Official Wiki: Shaker | Primary mechanics reference for Wet Sand processing, Gold output and Residue behavior. | Supports the core machine logic; does not validate this exact site schematic. |
| Official Steam page screenshot | Visual reference for how a Shaker-style Gold line appears in-game. | Official visual context only; not a build prescription. |
| Public Gold factory video, Sand into Gold video, Shaker short, Shaker breakdown | Visual build context and sanity checks for common Gold factory patterns. | Not copied as a schematic and not used as measured throughput proof. |
| Steam community screenshots thread | Confirms that players share and compare factory screenshots. | Community context only; screenshots are not a versioned site test. |
This blueprint is source-based and stays useful as a structure guide, but Sandustry Tips does not have a recorded in-game v0.5.6 benchmark run for this exact layout yet. Treat it as a reproducible shape to test in your own save, not as a measured throughput promise.
A descending Shaker staircase with separated Wet Sand input, Gold drop space, and Residue exit is a source-backed structure pattern for a readable early Gold line.
Throughput, final footprint, and long-run stability still depend on your terrain, your input method, and the current Early Access balance. Use the structure here as a starting shape, then tune it in your own save.
External videos and community screenshots are reviewed as context only. They are not labeled as Sandustry Tips tests and are not used to claim a measured output rate.
Source note: This recommendation is source-based, not an independently benchmarked build.
Official source