S Sandustry Tips
Starter blueprint

Sandustry Starter Factory Blueprint

Goal: build the smallest layout you can still read. Separate Wet Sand input, Shaker processing, Gold collection and Residue exit so every failure has an obvious place to inspect.

Build boundary

Readable first, compact second

Use official Shaker and Wet Sand behavior as the base rule, then leave enough spacing that blockages stay visible while you learn the loop.
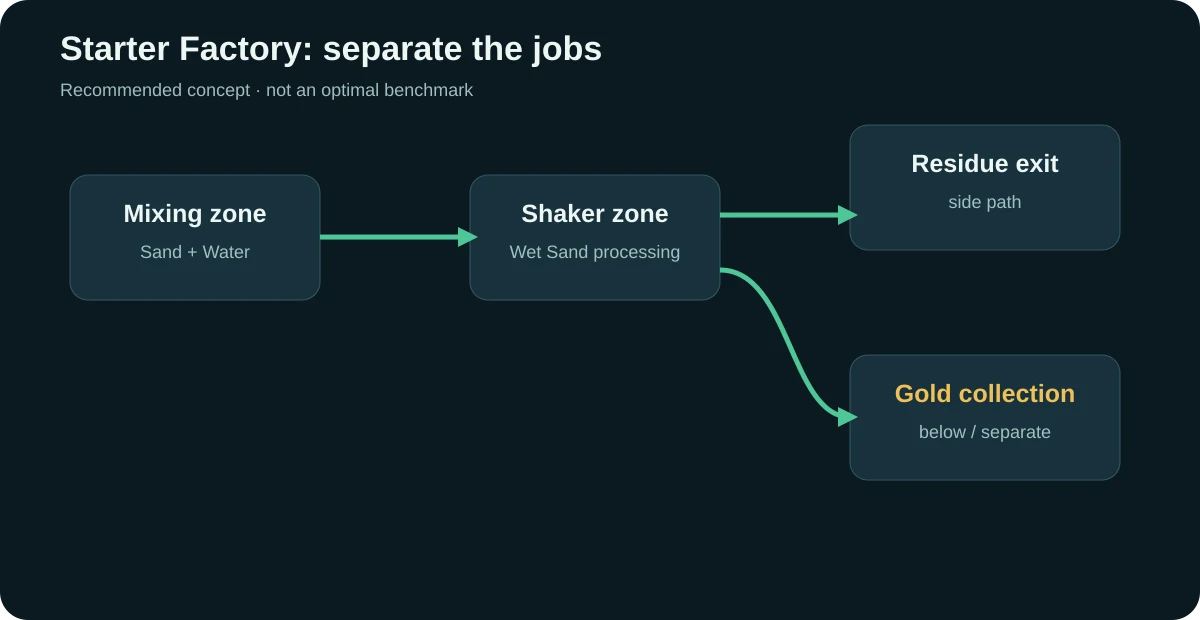
Starter Sandustry factory schematic separating Wet Sand input, Shakers, Gold collection and Residue exit
Beginner layout concept. Adapt it to terrain and unlocked logistics.
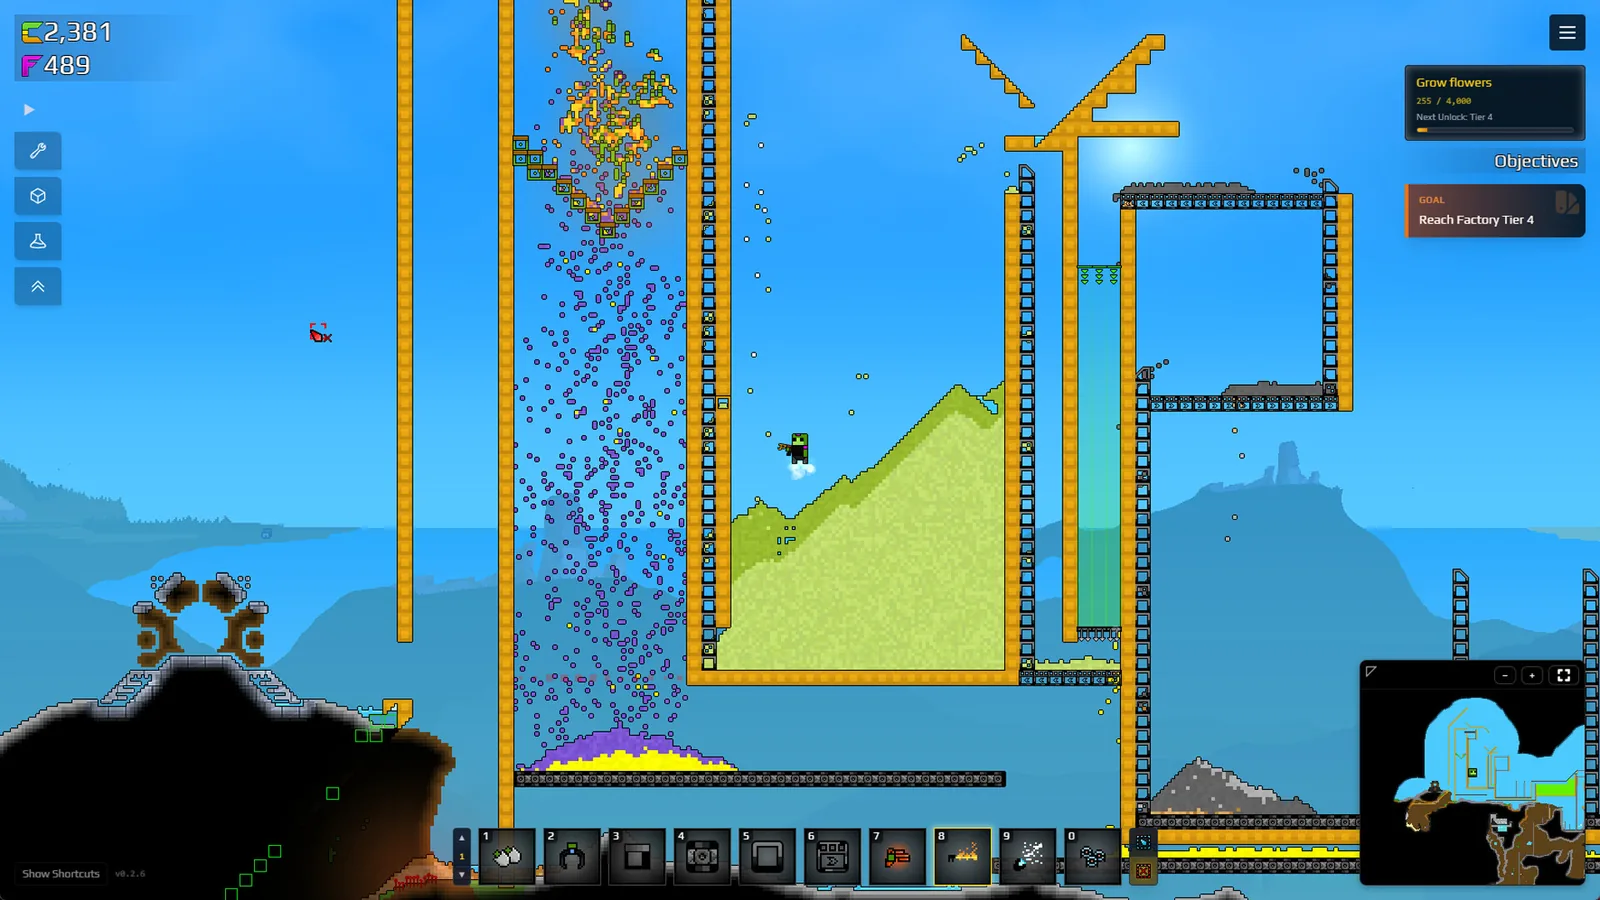
Official Steam screenshot of an early Sandustry factory with vertical sand towers and a horizontal processing line
Official Steam screenshot. The in-game layout direction and machine counts will differ from the schematic above; use the schematic as the structure blueprint and this screenshot as a real-world reference of how these elements appear inside Sandustry. (Source)
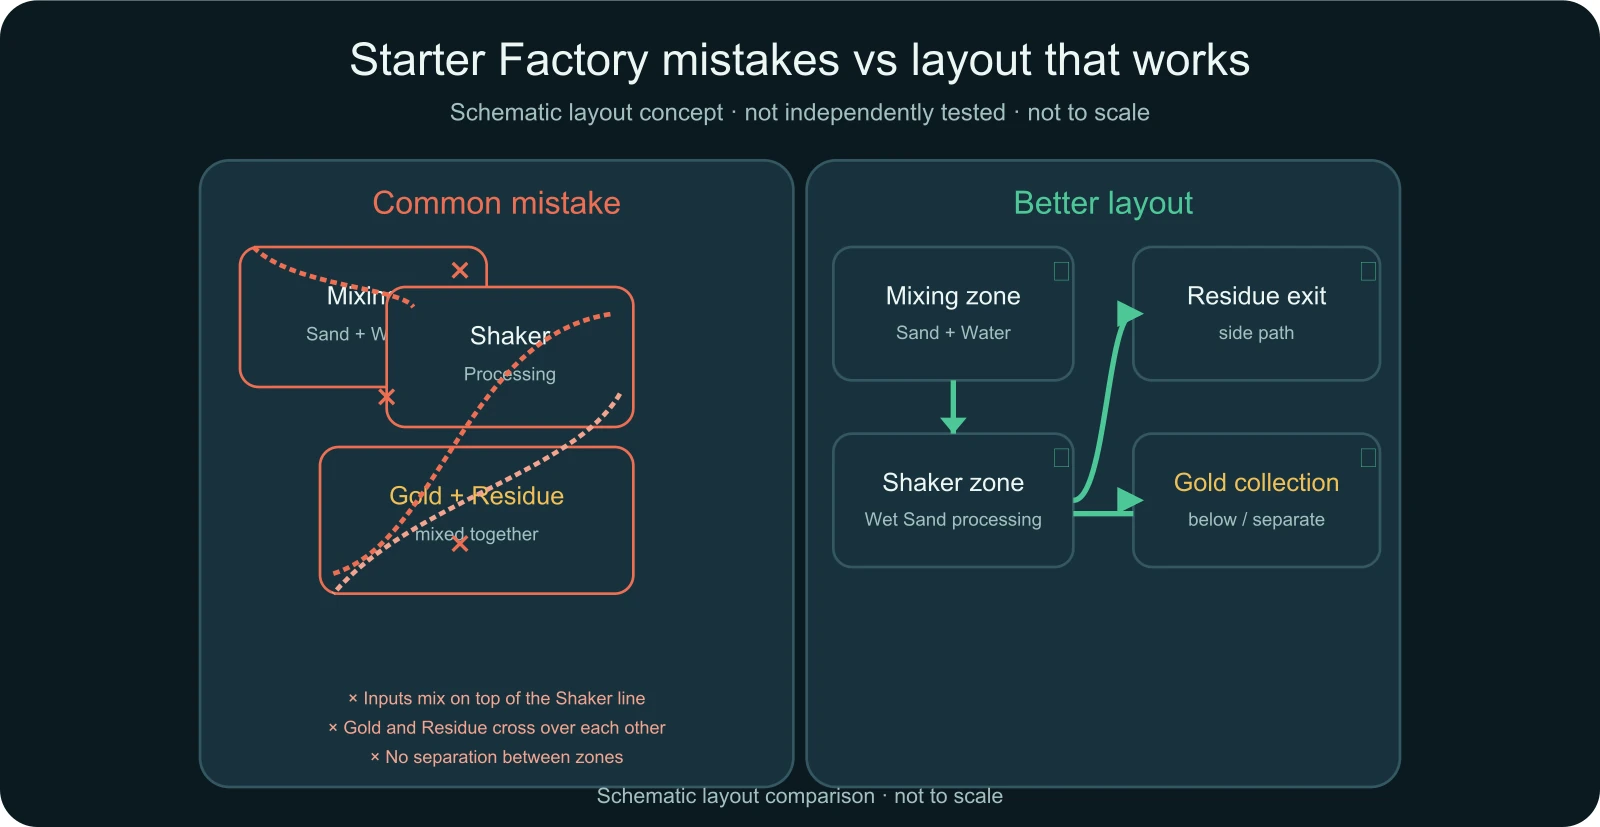
Diagram comparing a common Sandustry starter factory mistake with a layout that separates mixing, processing, and collection zones
Schematic layout comparison. The left side highlights a common build trap and the right side shows the separation principle that avoids it.

Three rules

Keep inputs upstream.Make Wet Sand before it reaches the Shaker zone.
Keep outputs separate.Gold below and Residue to the side should not immediately remix.
Leave access space.You need room to see and clear a blockage while learning the system.

Core layout rule

For a first factory, keep Wet Sand input, Shaker processing, Gold collection, and Residue exit separate enough that faults stay visible while you learn the loop.
What still changes when you scale

This layout favors readability over density. Exact throughput, machine count, and the best footprint still depend on terrain and how much Gold you want beyond the first stable loop.

Upgrade path

This concept is sized for learning, and it is a good point to replace it once the three rules feel automatic and you want more Gold than the compact shape can hold. Move on when you can predict where each material will sit before you place the machines.

  • When the layout runs without you clearing a blockage, extend toward the Gold Factory Shaker Staircase instead of stacking more machines into the same footprint.
  • If new logistics change how Wet Sand arrives, automate the transport but keep inputs upstream and outputs separate.
  • When the compact shape starts hiding the middle of the line, rebuild wider; access space is part of the design, not leftover room.
  • If a material keeps ending up somewhere unexpected, check the related mechanic in the troubleshooting hub before reworking the whole layout.

Featured Questions

What is the point of a starter factory blueprint?

The point is not to maximize throughput. It is to make the first production loop readable enough that you can see where Wet Sand, Gold and Residue are actually going.

When should you replace the starter factory?

Replace it when the layout is stable and predictable but no longer gives enough room to inspect or expand the line. That is the point where the dedicated Gold Factory page becomes more useful.

Primary Sources

Next

When this layout feels predictable, move to the Gold Factory Shaker Staircase.

Source note: This recommendation is source-based, not an independently benchmarked build.

Official source