Use this to learn the loop before you optimize it
The Shaker, Wet Sand, and Water rules are official. The arrangement below is a readable starter layout, not a promise that every map should use the same final shape.
Recommended approach: keep the opening Gold line compact, make each material path visible, leave open space under the Shakers for Gold, and give Residue its own exit before adding more production.
The Shaker, Wet Sand, and Water rules are official. The arrangement below is a readable starter layout, not a promise that every map should use the same final shape.
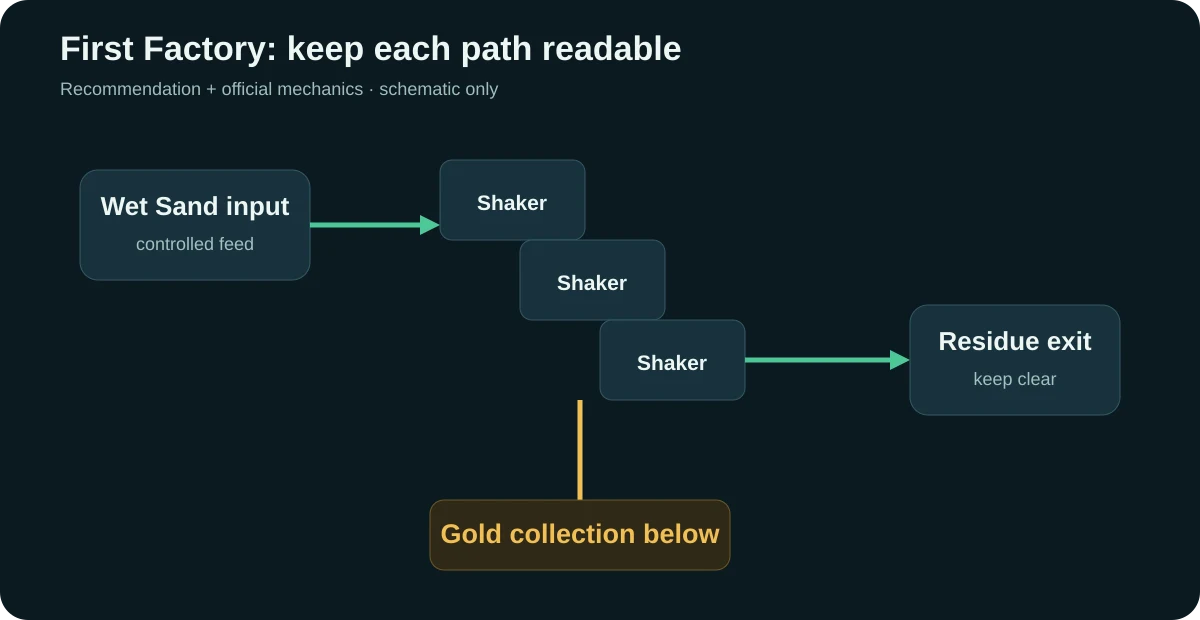
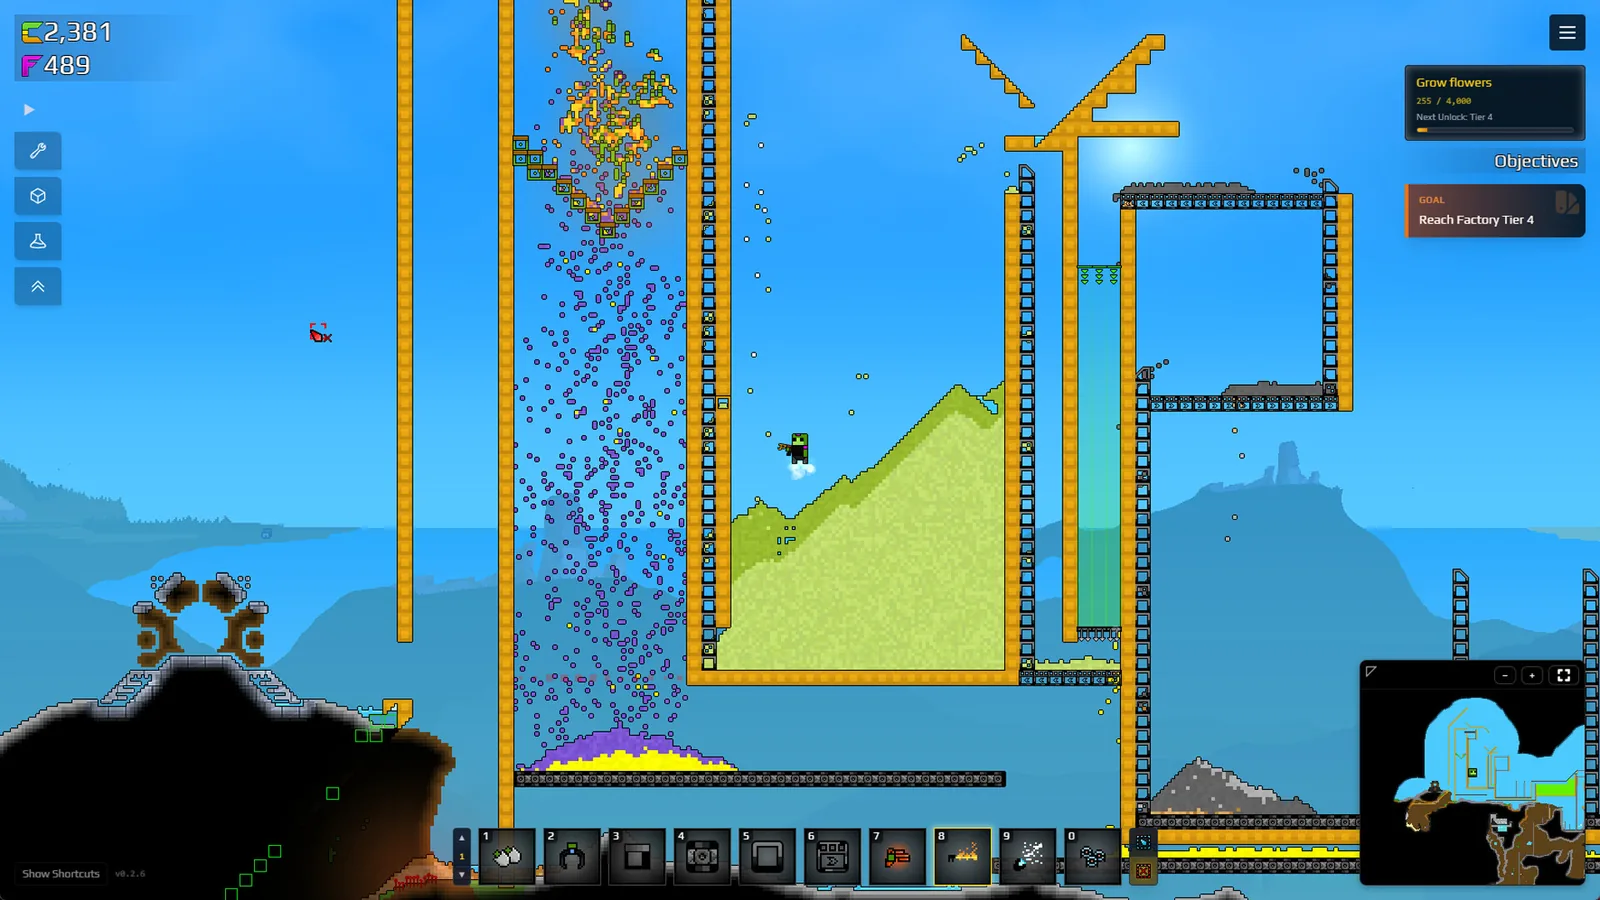
Feed a manageable Wet Sand stream instead of flooding the entire area. A smaller input makes it much easier to see whether the bottleneck is Water, Shaker capacity, or Residue movement.
Gold passes through the Shaker body, so the space below should stay open and separate from other solids.
Residue stays on top and moves slowly. Do not let it accumulate where new Wet Sand is entering.
Make Wet Sand before the Shaker area. Water is easier to diagnose when it has a clear basin/mixing zone rather than leaking through the production line.
Add more Shaker capacity when you know which material is backing up. Expanding before that point often hides the real cause.
Stop expanding when the first loop is readable, not when it is large. A finished first factory is one where you can point to the Sand source, Water contact point, Wet Sand route, Shaker body, Gold drop space and Residue exit without guessing.
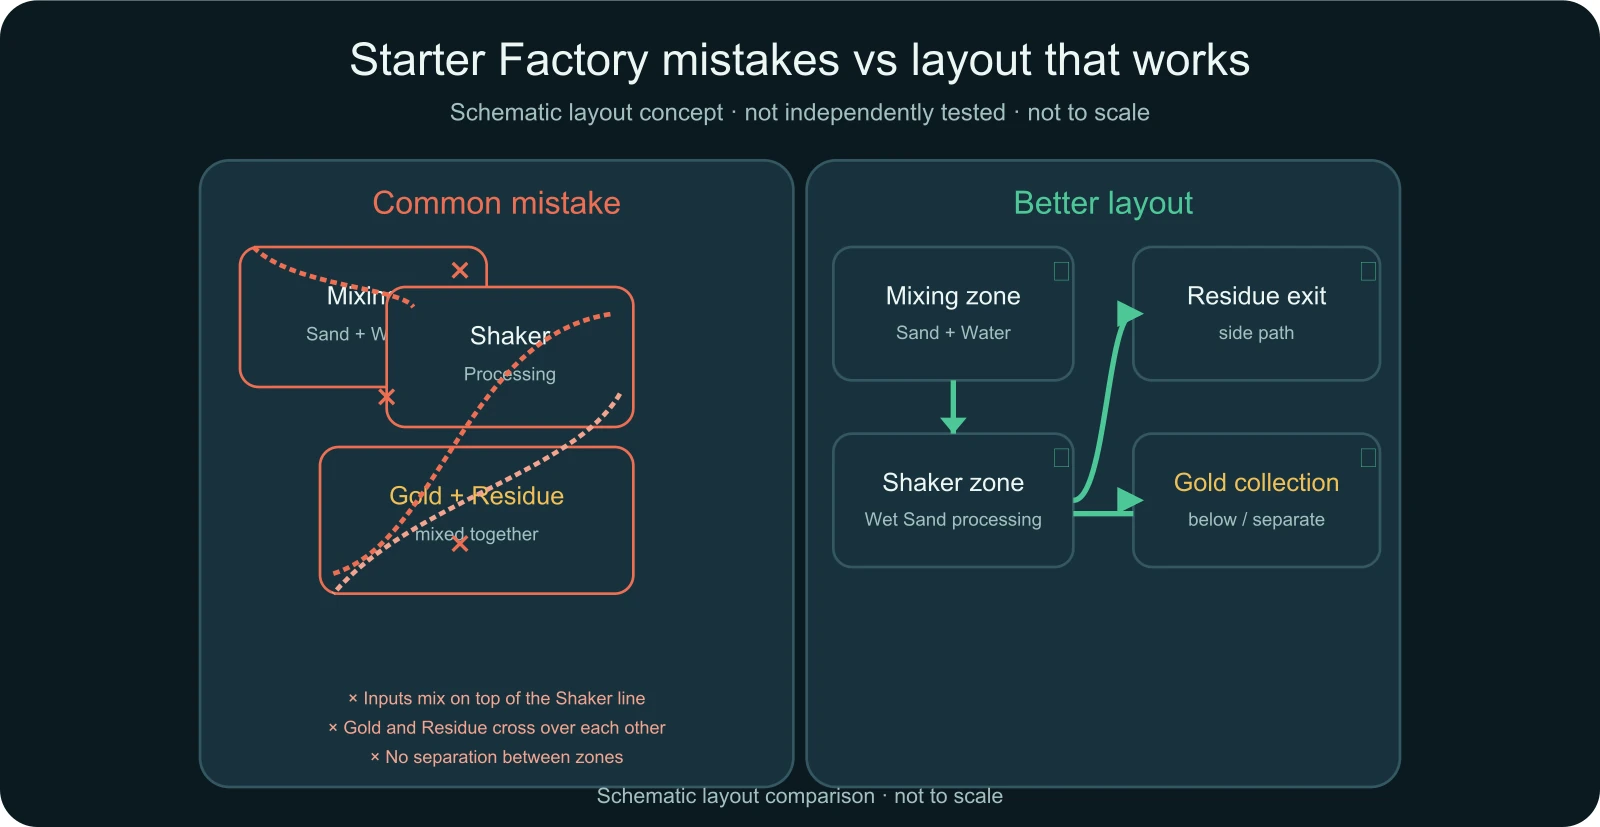
If input, output and byproduct all meet in one pile, a stopped line becomes hard to read. Separate paths before scaling.
Water behavior belongs upstream. Keep the wetting step visible before Wet Sand reaches the Shakers.
Early factories still need occasional clearing. Leave enough space to remove a trapped solid or watch the failing tile.
If you cannot name the constraint, adding machines usually hides it. Stabilize one cell first.
This opening shape is a learning layout, not a destination. A good point to extend it is when you can name the real bottleneck from watching the factory, because that is the moment adding Shaker capacity stops being a guess.
A first factory is easier to learn and debug when Wet Sand input, Gold output, Residue exit, and Water mixing stay visibly separated.
The layout here is for a readable opening loop, not a final factory footprint or a promise about exact throughput on every map.
Readable material paths: controlled Wet Sand input, open Gold drop space, a separate Residue exit, and upstream Water mixing you can inspect.
When one loop runs long enough that you can name the real bottleneck from observation instead of guessing based on overall mess.
Because compact but tangled layouts hide failure points. Separation keeps input, output, and byproduct readable when the line stalls.
Source note: This recommendation is source-based, not an independently benchmarked build.
Official source