You know the basic controls but keep losing the thread
Work through the guides in order, favoring stable checkpoints over a theoretical unlock order.
Direct answer: move from basic material handling to Wet Sand, then first Gold, then a readable Gold factory, then Water and logistics fixes. Do not scale a line until you can see its input, output and byproduct path.
Work through the guides in order, favoring stable checkpoints over a theoretical unlock order.
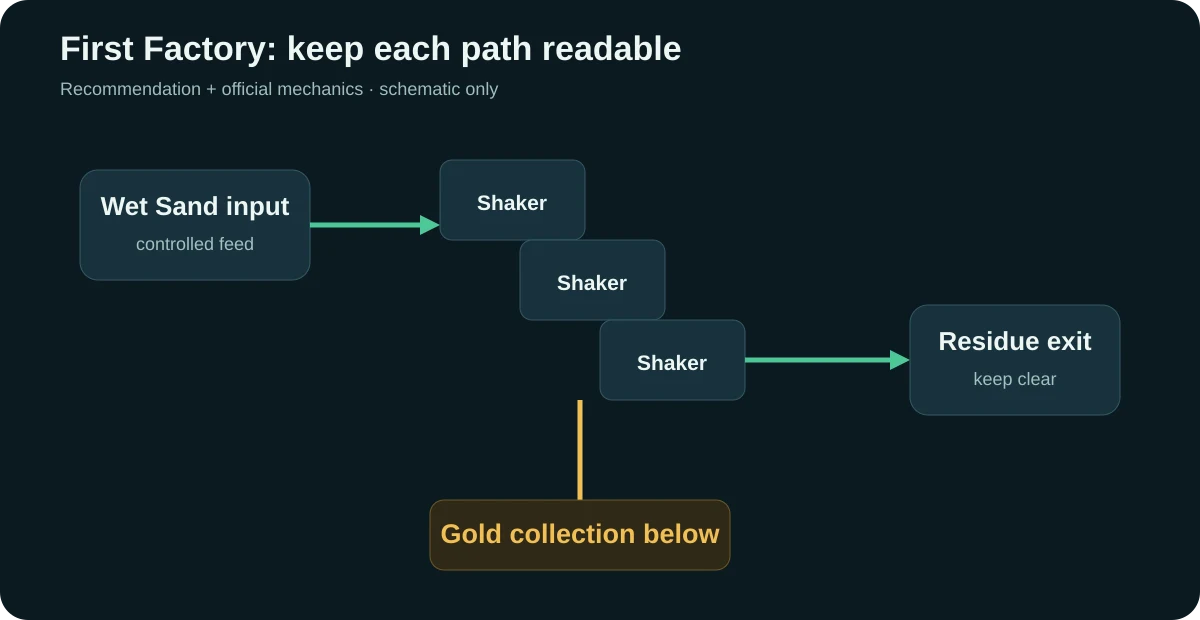
Start with Sand, Water, Wet Sand and Shakers. The goal is not speed; it is seeing why each material moves where it does.
Keep the first Gold line small enough that you can inspect the Wet Sand input, the Shaker area, the Gold drop zone and the Residue exit separately.
Use the Gold blueprint as a concept for readable flow, not as an exact terrain-independent recipe.
If output slows down, diagnose the visible symptom before expanding. Most early failures come from blocked inputs, trapped outputs, Water loss or mixed byproducts.
Add capacity after each path remains readable under load. A larger unclear factory is harder to repair than a smaller stable one.
When you can explain how Wet Sand becomes the input for Gold production.
When the same line can run long enough for you to observe its real bottleneck.
When a visible symptom repeats after small layout changes.
When the problem is fixed without hiding the material path that caused it.
The short route is a default order, not a fixed rule. Once a stage is automatic for you, the checkpoints matter more than the sequence, and starting one step later saves time without skipping the diagnostic work.
Early Sandustry gets more manageable when you move from tutorial, to one stable factory cell, to a readable blueprint, then to symptom-based troubleshooting before expansion.
Your exact order can shift with map opportunities and current bottlenecks. Use this path to keep progression readable, not as a rigid route that overrides the save in front of you.
Build one stable factory cell, compare it to a readable blueprint, troubleshoot repeating symptoms, and only then expand the factory.
Because the route keeps each stage legible. Bigger unclear builds make it harder to tell whether the real issue is Water, input, output, transport, or byproduct flow.
You can start later in the route once an earlier stage is already obvious to you, but skipping the diagnostic logic usually recreates the same failure at a larger scale.
Source note: This recommendation is source-based, not an independently benchmarked build.
Official source